Tuesday, November 22, 2011

Cloth Napkins

As I mentioned in an earlier post, my brother is getting married soon and he and his fiance just bought (and moved into) their first house.  I'm going to visit them for Thanksgiving and felt like I should bring a housewarming gift.  One of the gift requests on their wedding registry is a set of basic, neutral-colored cloth napkins, and after seeing a pattern on (where else) the Purl Bee, I decided to make them napkins.  I used the pattern for Molly's Homemade Napkins.

Since they originally asked for neutral napkins, I didn't want to vary too far off of that palette, so I bought a neutral khaki.  To make them more personal and add a little pop, I bought three different shades and patterns of blue fabric to make the bias tape border, so they would have four napkins bordered in each color.

It took me some time to get the hang of making these, but they came out pretty well.  I like the different shades of blue and how that addition creates different combinations of napkin pairings, depending on the number of people my brother and future sister-in-law are entertaining.  I hope they enjoy them and get a lot of use out of them. 


Striped Baby Hat

I had a lot of left over yarn from a previous project, so I made this hat for my friend's baby (the same recipient of the Pastel Duck).  It's a little big, so he'll have to grow into it a bit, but she sent me some pictures of him wearing and he looks adorable!

I didn't really follow a pattern on this one.  I just did a basic 2x2 rib and then knitted the rest, changing colors randomly.  And then I used one of my favorite new toys - a pom pom maker - to finish it off.


Pastel Duck

One of my best friends recently had a baby.  As she and her mom are both knitters, I figured they had the homemade blanket covered, so I went another route.  I found a pattern for a crocheted, stuffed duck in Alicia Bergin's "Crochet to Go Deck: 25 Chic and Simple Patterns."  For my first time making a stuffed critter, I think it came out rather well.  It definitely has that handmade appeal - it leans a little to the left because of the way I stuffed and sewed it - but I think my friend's baby will get some good use out of it.  Plus, it has no small plastic parts he can swallow!


(Thanks to LC for this fantastic photography!)


Wednesday, November 16, 2011

Colorful ribbed hat

After hearing about my blog, one of my friends was kind enough to send me a picture of the hat I made her.  I used the same yarn for the slouchy hat I made for myself, but I constructed hers in a 2x2 rib using a pattern from Joelle Hoverson's More Last-Minute Knitted Gifts (who also contributes to the Purl Bee, though I didn't know that when I found the book).


When I first gave my friend this hat, she said "Oh, thanks. Though I normally only wear black hats."  I think it's grown on her now, and if it hasn't it should because she's Indian and, in my opinion, Indians look fantastic in bright colors!

Monday, November 14, 2011

Spiral hat and scarf

I originally saw this hat pattern on the Purl Bee and knew I had to make it.  I absolutely love the way the rib spirals around the hat and creates an intriguing texture.  I'd also been eyeing this new Lion Brand Nature's Choice Organic Cotton yarn for a few weeks and figured it would be a perfect combination.  My cousin's Bat Mitzvah is coming up, so I bought some of the yarn in petits fours, which creates a beautiful pink, green, and purple color transition (perfect for a 13 year old girl).


The hat pattern is written for a 6+3 gauge, but I changed it to 6 so that I could get an even 3x3 rib without an odd 6-stitch wide rib running up the seam.  I used the same 3x3 pattern to create the scarf so that my cousin could have nice matching set.

[So...I forgot to take a picture of the completed hat and scarf before I wrapped it up and gave it to my cousin.  Clearly I'm new to this blogging thing.  I'll try to get one as soon as I can.]

The hat gave me a bit of trouble.  Not sure if it's the yarn I chose or what, but I didn't feel like it was spiraling quite as much as I would have liked.  Though after blocking, it does look much better.  Now I just hope it fits my cousin's head...  

Sunday, November 13, 2011

Cotton Scarf

In the last few months my craft bug has been active and my yarnworks just aren't enough at the moment.  So, I did the only natural thing and promptly ordered a sewing machine off Amazon.  After a busy week, I finally had some time to take it out of the box, figure out how it works (it took a few tries to load the bobbin correctly) and start sewing!

This is my first official sewing project.  At least in adulthood.  I did make a pretty good stuffed turkey for Thanksgiving one year when I was in elementary school, but since moving out of my mother's house I haven't had access to a sewing machine.  Or the interest, really.  But now that's all changed.

I originally wanted to make my mom some nice kitchen towels, but after searching two stores I couldn't find the right fabric.  Instead, I decided to make this 
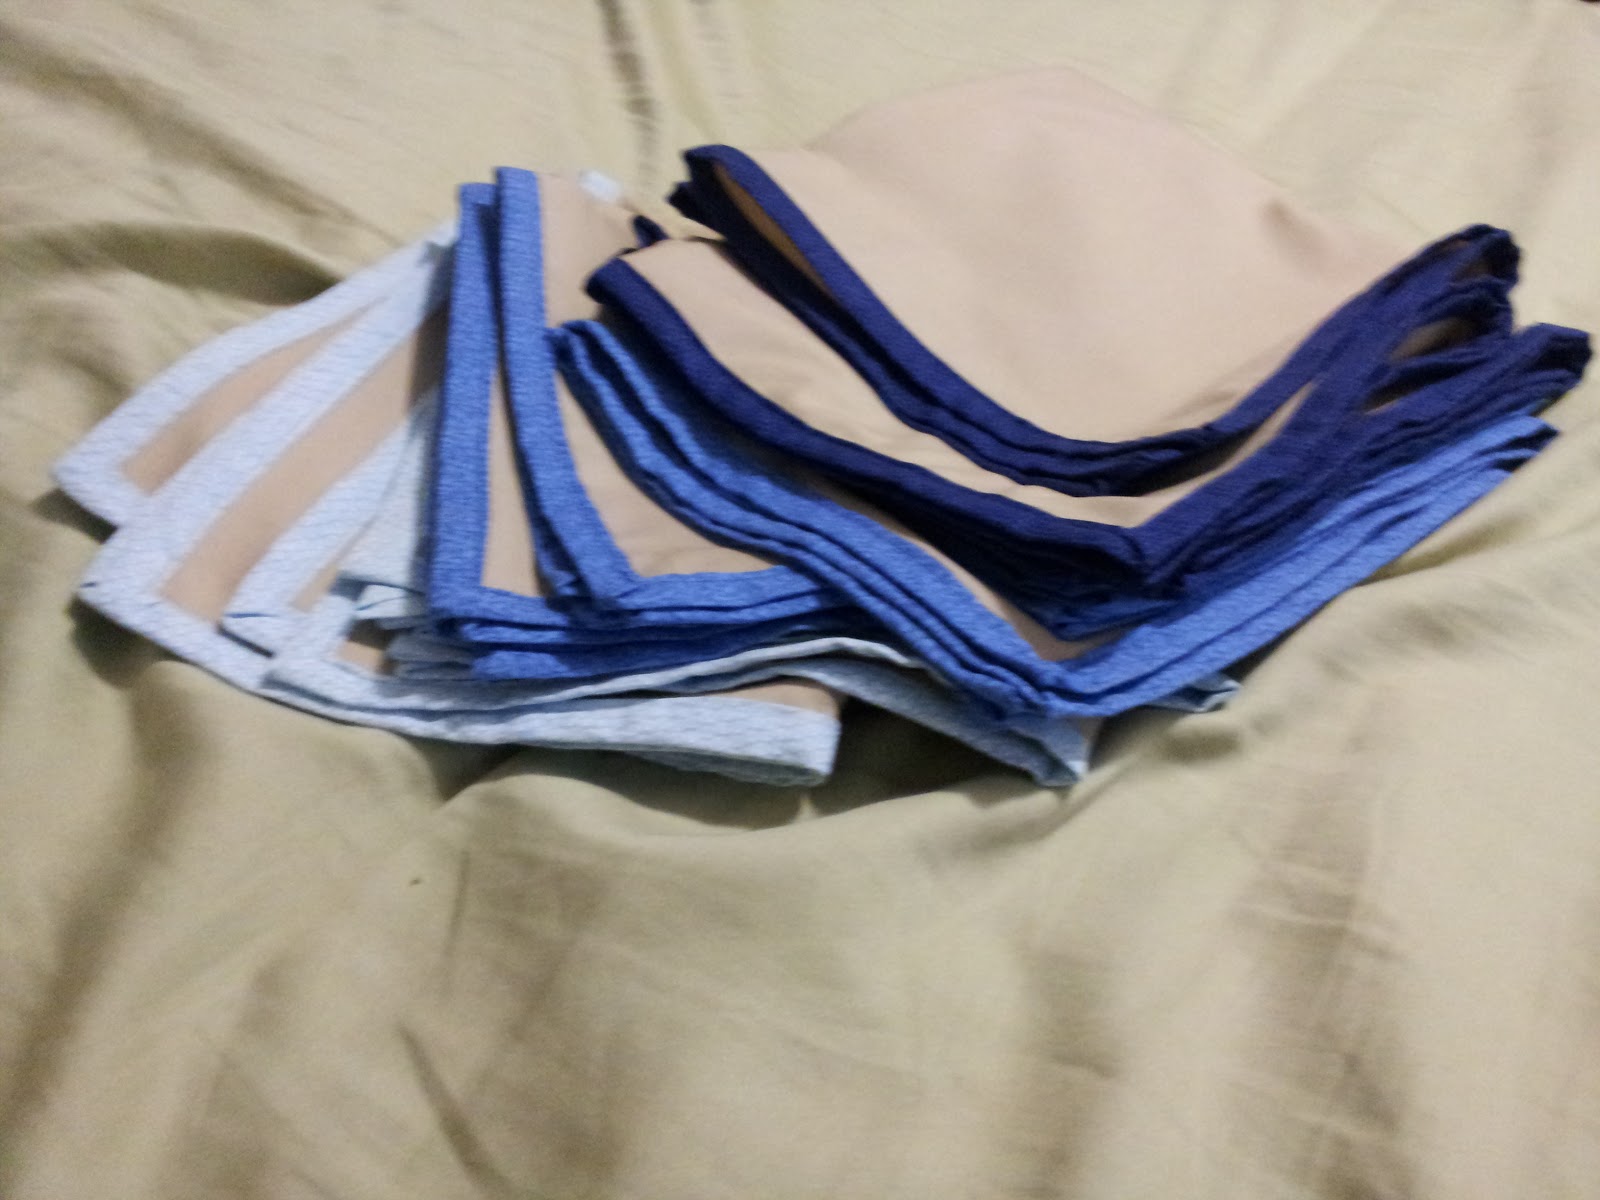
scarf that I found on the Purl Bee, naturally.  After spending over an hour in the fabric store, I finally decided on three prints.  The pattern suggests using two prints and one solid, but I couldn't find a solid I liked and thought that these three fit well together.


The pattern also calls for torn edges, giving the contrasting border fabric a frayed look.  However, since I bought a print, I couldn't really do that because both the "right" and "wrong" sides would be showing (not that you could necessarily tell based on 1/4 of an inch that peeks through, but still).  I also thought Mom might like the slightly more polished look of a finished edge.  To do that, I just cut 1.5 inch strips of the orange fabric, folded them in half, and ironed them flat.  

Here's the finished product.  I really like the way the fabrics contrast and go at the same time.  And I love the pop of brightness the orange print adds to the overall look.


I think it turned out quite well for my first project.  I had a few little mistakes, and had to sew over a couple of areas twice because I didn't catch the fabric on both sides, but all in all I'd say it's pretty good for my first time!  Let's hope Mom likes it...

Saturday, November 12, 2011

Halloween 2011

I pride myself on coming up with creative, homemade, non-slutty Halloween costumes.  Well, really costumes in general.  For two events during my senior year of high school, I dressed up as both a Head on a Platter and the Eiffel Tower.  Last year for Halloween I pulled together a pretty good bag of Jelly Bellys in about an hour.  My favorite costume by far was a hot air balloon (of course, I can't find the pictures anywhere!).  I cut the bottom out of a plastic laundry basket then lined it with construction paper to make it look like quilting.  I bought an extra large helium balloon and tied it so that it floated over my head.  I even made some 3D sandbags out of construction paper and tied them so they hung over the edges of the basket.  Then I dressed entirely in dark blue and taped paper cloud cutouts all over my body.  It was quite creative, if I do say so myself.  And as you can see, I usually go pretty big and bulky and prefer costumes that somehow inhibit me from easily fitting through doorways and/or sitting down.

This year, my boyfriend had the amazing idea of being Siri, the voice system on the new iPhone 4S.  Thankfully, I found him an even better costume and I dressed up as Siri.


He's dressed up as Sriracha, the Asian hot sauce.  We made the shirt ourselves.  And my costume has a functioning tap light so Siri's light can go on and off just as it does on the phone.  I also painted the iPhone 4S logo on the back of the shirt.  These costumes were much more understated than my usual fanfair, but they were still a hit!

Glass blowing

Similarly to most crafters, I am always searching for new ways to craft.  One that I've always wanted to try is glass blowing.  Last month, I finally got that opportunity (thanks to McFadden Art Glass and LivingSocial).  Four friends and I drove over an hour to have an introductory glass blowing lesson at Tim McFadden's studio.  It was definitely worth it!  I've even been searching for places to take a more in-depth course closer to home.


Adding color to the hot clear glass.
Heating my bowl in the stove.

My finished bowl! The colors aren't quite as vibrant as I was hoping, but I absolutely love the shape.

The drinking glass my boyfriend made.  It's now the only glass he uses.


Starburst Baby Blanket

A few months ago, I found out that my cousin and her husband were pregnant with their first child.  I immediately proposed to my family that we all chip in on some quality yarn and I whip up a quick baby blanket.  I headed to my neighborhood yarn store to find the perfect materials.  (Sidenote: I LOVE this yarn store.  Before this particular visit, I had been in a few times but never made a purchase.  Now I'm there almost every week!)

Anyway, after much deliberation concerning yarn and colors, I finally decided upon Debbie Bliss baby cashmerino in shades of yellow and green.  My cousins have decided not to learn the sex of the baby, so I had to keep things gender neutral (not entirely sure if I was successful, but I tried...).  I used Celeste Young's Rainbow Ripple Baby Blanket pattern, which is available for free on Ravelry.


After I finished the blanket, I still had a good amount of yarn left over, so I whipped up a couple hats for my new baby cousin as well.  S/he'll be coming in the dead of winter and will certainly need plenty of hats to keep him/her warm.


Update: My new cousin was born on January 23, 2012!  She's a beautiful little (only 4lbs15oz) girl named Sylvia Bree.  Hopefully she likes green...

Knitted hats

I've been wanting to learn to knit for several years now, so I finally bit the bullet.  A few months ago a friend and I took a beginner's class and since then, I've been a knitting machine.  My first few projects were sent away as gifts before I took pictures, but I made these hats for me and my boyfriend so they were easy to document.

My boyfriend's hat is a simple 2x2 rib made with a chunky yarn and size 10 needles.  I must say, he looks very good (and a bit emo/hippster) in it.  I'm still trying to convince him to let me post a picture of him donning the hat.


My hat was made with the following materials (and a size 7 circular needle).  I actually wasn't too fond of it when I first finished it, but now I absolutely adore it.  While knitting, I got slightly distracted and made it a bit too large, but I really like the slouchy effect I ended with.  And I am not posting a picture of me in the hat because I am not a very good model.


Crocheted Patchwork Afghan

I spent last summer in Uganda working with an AIDS support organization (you can read my blog from that experience here).  When I returned to the US, I had a lot of free time as an unemployed graduate student before the fall semester started, so I headed to the store and picked up a bunch of Vanna's Choice Yarn by Lion Brand.  Using 63 Easy-To-Crochet Pattern Stitches by Leisure Arts as a guide, I made this Afghan.


I used a different stitch for each color of yarn, sewed it all together, and finished it off with a simple border.  It's the first substantial thing I've mad for myself and I have to say I'm quite pleased with it, especially as the weather is starting to cool.

You'll also notice that I used this afghan as the background for the blog.  At least for now.

Welcome to my new blog!

Okay.  First post!  I started this blog as a place for me to both archive the crafts I make and allow easy sharing with friends and family.  I've been crocheting for nine years and recently learned to knit.  I also just bought a sewing machine to expand my crafting abilities.

The first few posts will be projects that I recently finished, and then I'll add new work as it comes.  My hope is that this blog will inspire me to learn new skills and expand my crafting abilities.  One day, I may even post my own, unique pattern!

Tune in to see my progress and the (in my opinion) awesome things I create.

Also, thanks to my friend Teja for the adorable logo.  I found the roach on Evilkid Productions and she altered it to make it crafty.